Smart Choices for Clean Air: A Comparative Guide to Laser Cutter Fume Extractors
Introduction — a quick shop story, a stat, a question
I remember walking into a small makerspace where the laser table was busy and the team looked exhausted from constant cleaning. The room had a laser cutter fume extractor installed, but the air still felt thick and metallic in the afternoon. Recent small-factory surveys show that up to 60% of workshops report lingering smoke or odors after cutting (and yes, that gets everyone grumpy). So, how do you really tell which extractor will keep your workspace safe and your crew happy?
I’ll share what I’ve seen on the floor, the tests I trust, and the simple checks you can do—no jargon-heavy manual needed. Let’s dig into why many systems don’t live up to their promises, and what actually matters next.
 Why common extractors miss the mark
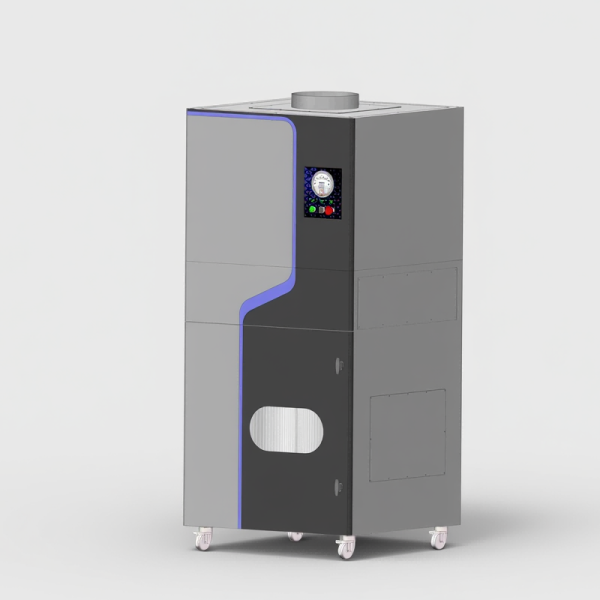
First, let me point to a practical product example I often recommend people inspect: laser cutting dust collector. Many shops install units like this expecting instant, lasting relief. In practice, several technical gaps show up: wrong filter media, poor airflow design, and ignored maintenance schedules. These are not glamorous problems, but they are predictable. I’ve watched high-capacity fans fail to move contaminated air into a properly sealed duct because designers underestimated pressure drop across a loaded particulate filter and a saturated activated carbon bed. Add a mis-specified HEPA stage and you still get VOCs slipping through—look, it’s simpler than you think: capture strategy plus correct airflow equals clean air.
What blows up in the field?
From my hands-on tests, the hidden culprits are sensor drift, improper sealing, and undersized fans. Filters load with ultrafine particulates, increasing resistance and dropping airflow rate; the extractor then recirculates instead of extracting. Ozone from some laser types and volatile organic compounds (VOCs) need targeted media — not just a generic filter stack. Maintenance routines get skipped because the replacement cycle isn’t obvious, or because filter-change access is awkward. I’ve had techs tell me they avoid certain machines because changing a filter is a whole afternoon job—funny how that works, right? If you don’t design for real shop behavior, the best spec sheet is wasted paper.
What’s next — principles for smarter systems and buying choices
Looking ahead, I favour solutions grounded in clear principles rather than buzzwords. One solid route is modular filtration: stage filters (pre-filter, particulate filter, HEPA, activated carbon) that are easy to access and monitor. Another is better measurement: real-time airflow sensors and simple visual indicators that tell you when the filter needs attention. The same laser cutting dust collector designs that allow quick swaps and clear airflow specs tend to perform far better in the long run. When vendors publish pressure-drop curves and filter life estimates (instead of vague “low maintenance” claims), I pay attention. — small shift, big payoff.
Here are three practical evaluation metrics I recommend you use before buying: 1) Verified airflow at the hood or intake (not just fan CFM), 2) Total filtration stages with media types listed (HEPA grade and carbon weight), and 3) Serviceability score—how long to change filters and the cost of consumables. If a supplier can’t provide numbers for those three, walk away. Choose systems that consider real-world use: easy access, measurable performance, and parts you can replace without a specialist. In my experience, that’s where you save time, money, and health over the machine’s life.
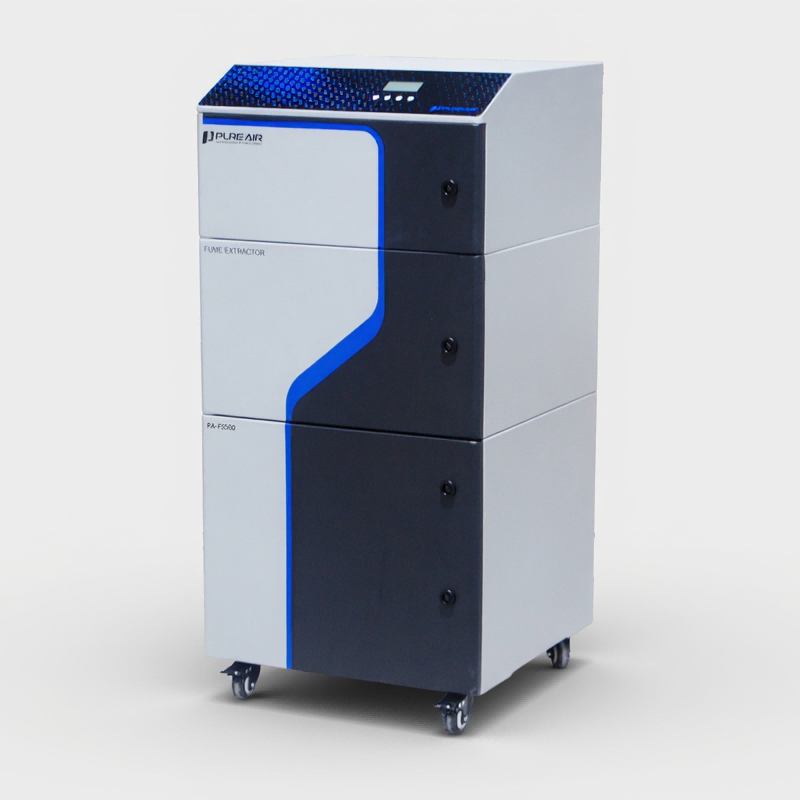
For straightforward, effective options that combine these principles, I often recommend checking products built around practical serviceability and clear specs—brands that stand behind real data. For example, consider exploring solutions from PURE-AIR when you’re ready to compare models and maintenance plans.